So, today we will be guiding you on how to create shipping labels on Facebook marketplace. Well, when it boils down to making online sales, the major reason a lot of persons back away from it, is the false belief that shipping of products is hard. That is why most individuals prefer to sell their products on platforms like OfferUp, Craiglist, or Facebook marketplace. When you opt for Facebook marketplace as your preferred destination to ship your product, you would gain a lot of exposure and more buyers for your merchandise.
So, if you’re still thinking ‘how do I create a shipping label on Facebook marketplace’? Then, here is a hassle-free guide on how to create a shipping label on Facebook marketplace.
These are the 9 Steps to Create Shipping Label on Facebook Marketplace
Step 1
Login to the Facebook marketplace and look for your profile. You can do this by clicking the icon that is at the top of your Android phone. On your Smartphone, the icon is located at the bottom of the screen interface.
Step 2
The moment you create your profile at Facebook marketplace, or create one that already exists, you will have orders that you need to ship. Go on and click on that.
Step 3
In the third step, you will see your active orders getting pulled up with the items that you sold. And this would come alongside the deadline for shipping.
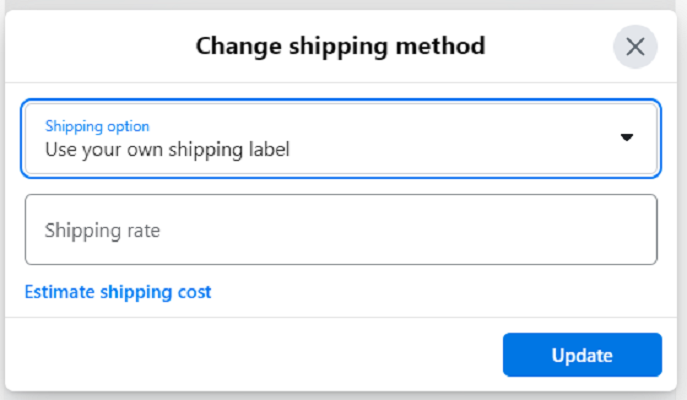
Step 4
In the fourth step of creating your shipping label in Facebook marketplace, you will need to click on the big blue interface labeled “Create Shipping Label” if you are connected to a printer.
Step 5
The moment you select your printer setting, go ahead and click on the “Create shipping label”. After clicking, a new screen will pop up for the next step.
Step 6
There will be a new pop-up that will indicate that your shipping label has been created and sent to your email address. You will then proceed to press Continue.
Step 7
In the seventh step, you will see your order status. In this situation, both the buyer and the seller would see their order status all the way up to package delivery. If in any way, you wind up not receiving your label, you will have to click on the “Resend Shipping Label” button to see the options available.
Step 8
As you have a link to the shipping label sent to your email address, you will also be shown the link in your browser. In this step, you will need to click on “Copy Link to clipboard”, so that you can paste the link and then click on the enter button to pull up the label.
Step 9
This interesting step is where you would now print the shipping label that you created on Facebook Marketplace.
Bottom line
In the Facebook marketplace, you can create a USPS shipping label and print it with a printer. With the Labels that you create, you would attach them to your orders, readying them for shipping. Creating a shipping label is not everything, as there are other engagements that determine the success of your commerce-like indulgence. You will need to bring your fulfilled order to a USPS location, or simply set up a pickup within 3 business days.
Picks by Editor:
How to Create USPS Shipping Label for International and Local Shipping
How to Create PayPal Shipping Label without Purchase